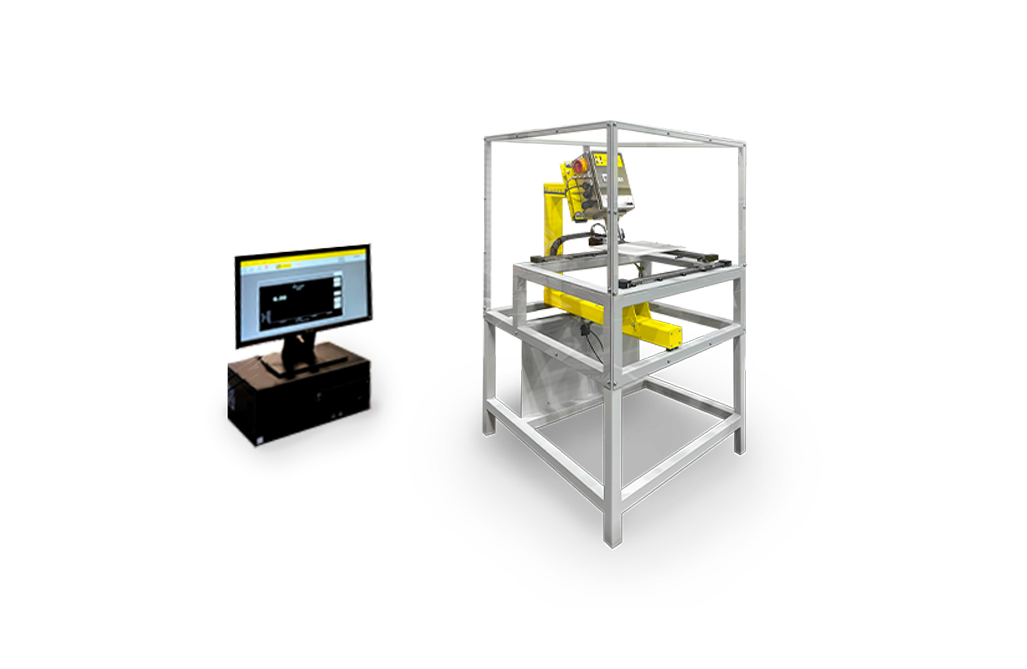
Our systems are ideal for measuring the coated film's thickness after calendering, where the film is compressed by rotating rollers to achieve the required line pressure. This ensures proper electrode wetting properties and energy density in battery cells. Accurate post-calendering thickness measurement is a key quality check in battery production.
The leading edge of battery coating, where the material first contacts the substrate, is critical for adhesion. Issues here can cause uneven thickness, poor adhesion, or structural defects. The heavy edge, where excess coating accumulates, can lead to non-uniform thickness, reducing battery performance, capacity, and efficiency. Uniform coatings ensure reliable, long-lasting batteries.

Hammer-IMS measurement systems are custom-built and tailored to fit each project. For the battery industry, we developed a system that ensures complete quality control of battery films. Equipped with three sensor types for:


Basis-weight measurement
U-Ray Technology
U-Ray is an ultrasonic technology for basis-weight measurement, optimized for materials where electromagnetic methods , such as C-Rays (our capacitive technology) and M-Rays (our millimeter wave technology), are ineffective. It’s ideal for quality control of thin materials, such as battery films on metal substrates.

Thickness measurement
L-Ray Technology
A confocal optical sensor, designed for high-precision, non-contact thickness measurement. This setup includes two sensor heads that measure the distance to the material, allowing the system to accurately determine the material’s thickness. Just like the U-ray head, the confocal laser sensors also require periodic calibration to ensure precise measurements.

Edge detection
Contrast sensor
A contrast sensor is perfect for edge detection in battery film production. Its high grayscale resolution and quick response time ensure reliable detection, even on reflective materials like aluminum or copper foil. To achieve optimal accuracy, two sensors are installed—one on the top and one on the bottom of the film—detecting edges on both sides. This setup precisely measures the edge between the coating and the foil, ensuring accurate alignment of the coating.
Machine for basis-weight measurement of flat materials
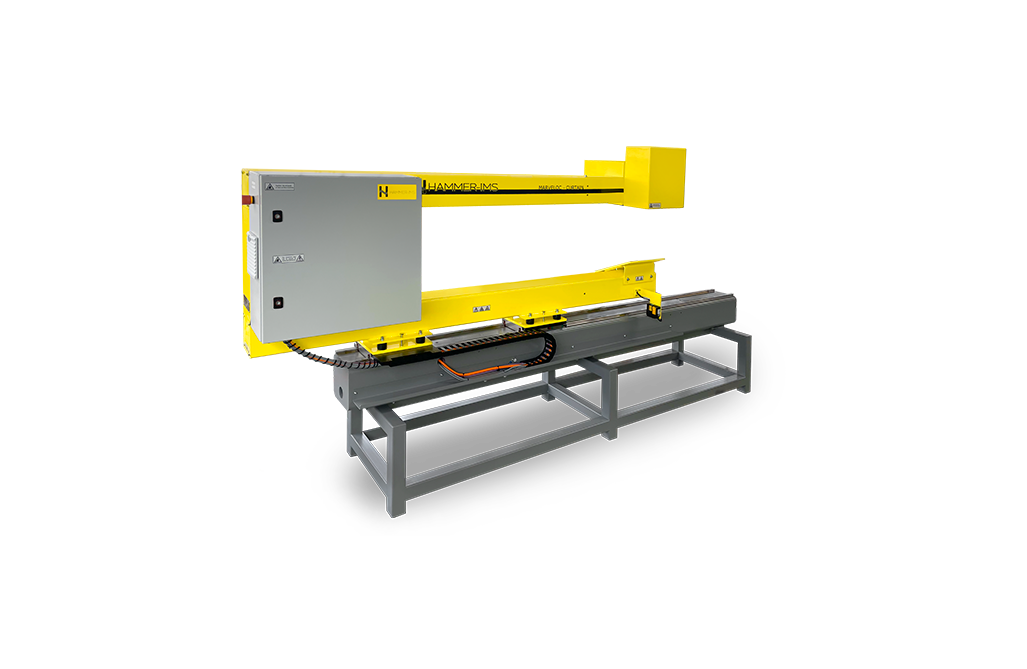
Machine for basis-weight measurement of flat materials
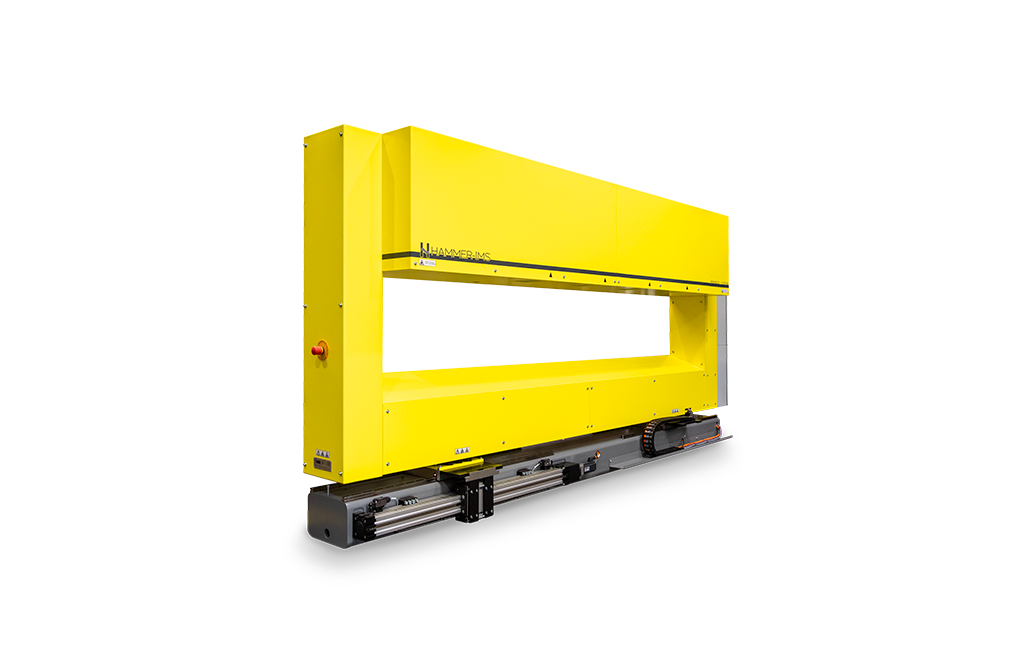
Machine-vision solution for detection of anomalies and defects
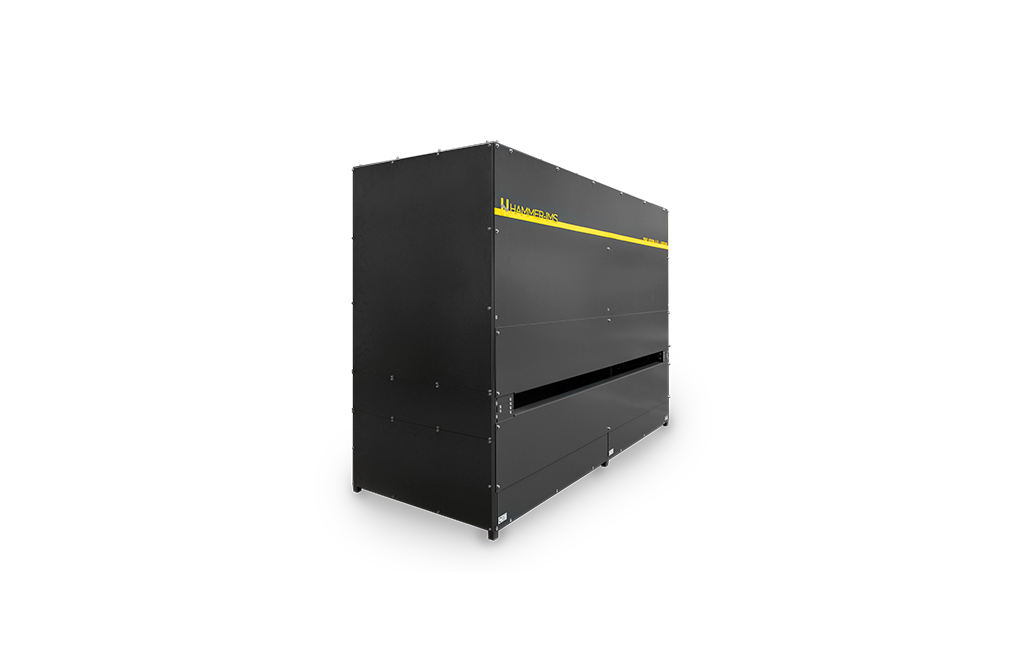
Machine-vision solution for detection of anomalies and defects
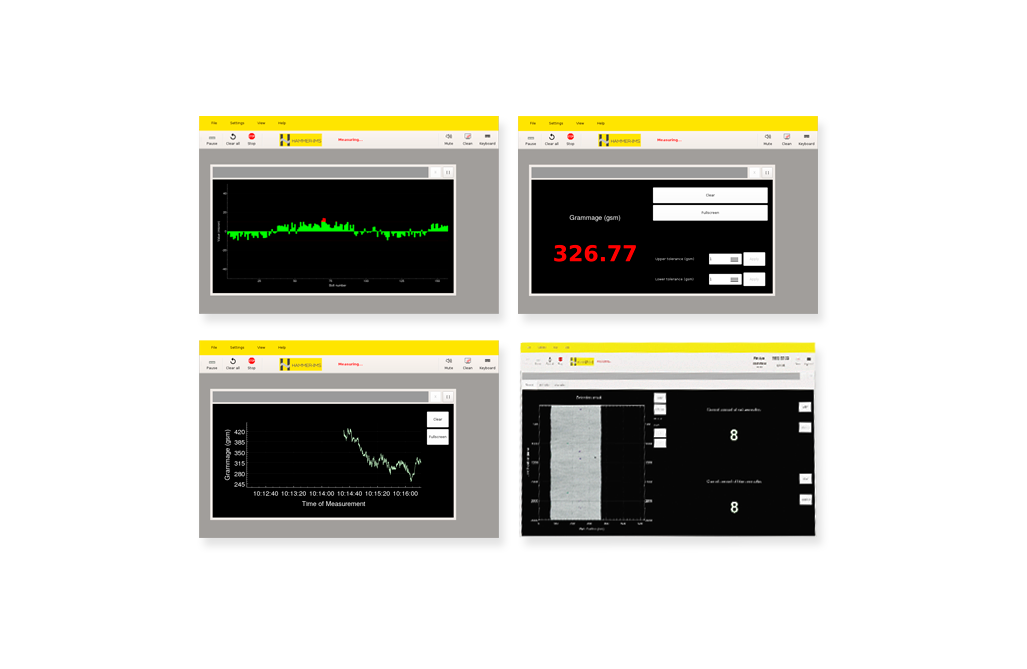
Industrial software to connect to PLC's and various information sources
Lab devices, custom or off-the-shelf
