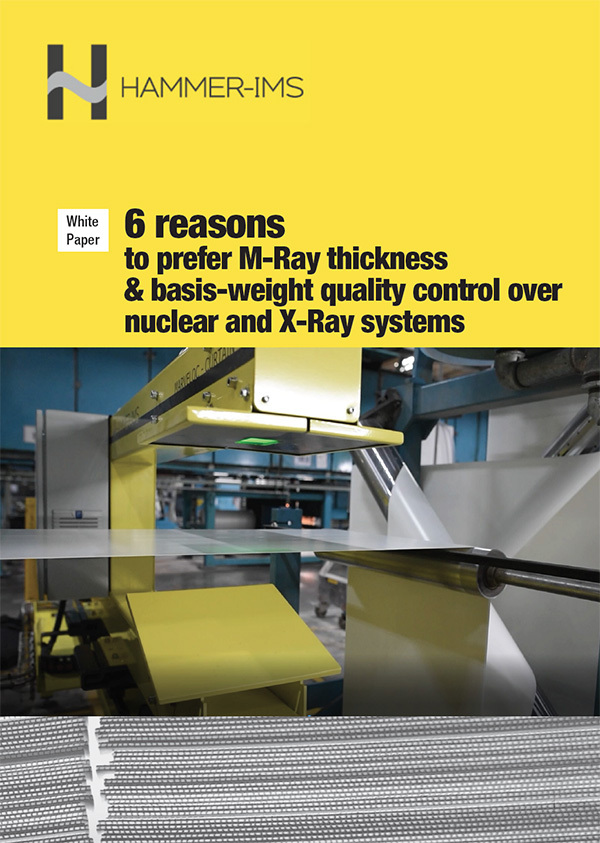
6 reasons to prefer M-Ray thickness & basis-weight quality control over nuclear & X-Ray systems
Our disruptive M-Ray technology is pure electronic by nature. This means that our non-nuclear measuring solutions are harmless for people and the environment. Completely safe for operators...
Click here to open or download the white paper.
Here at Hammer-IMS in Belgium, we commercialize contactless measurement solutions for thickness and basis-weight of flat materials in production lines as well as for detection of anomalies in these materials.
Our disruptive M-Ray technology, based on the same type of waves that your cellphone emits, serves as an alternative for today’s nuclear and radioactive measuring equipment. M-Ray based measuring machines running at manufacturers of technical textiles, wall coverings, bitumen, rubbers, plastics and coatings, are non-radioactive by design and deliver higher economic value and tighter quality control.
This white paper digs deeper into the following six reasons to equip your organization with a Hammer-IMS machine:
1. Clean environment & high safety
2. High accuracy and superior material coverage
3. Flexibly employable across production lines & sites
4. High measurement gap
5. Wide application reach
6. Low Total Cost of Ownership (TCO)
Let’s now focus on the fourth compelling reason...
4. High measurement gap
The high standoff distance of M-Ray based systems is revolutionary. It allows for verifying thick nonwovens just as easily as thin plastic sheets. The high clearance distance up to 30-40 centimeters compares favorably to conventional measurement technologies where sensors are typically operating with a standoff distance of only 1 centimeter!
The high clearance distance means also that the metal M-Ray reflector plate under the inspected material is positioned at a considerable distance. The use of a metal reflector plate eliminates any electronics below the material passage, avoiding irreversible contamination by coating or bitumen drips or a drooping extruded sheet, for example.
- The high clearance distance offers a number of additional advantages:
- No markings caused by sensor parts touching the potentially fluttering material
- No need for operator to remove the Hammer-IMS measuring systems from the production line while routing the material through the production machine, reducing operator interaction
- Evaluate thicker nonwoven materials in the earliest process stages, i.e. straight after the feeder or carding stage.
- Evaluate extruded plastic right after the chilling rolls, allowing the hot freshly extruded material to be robustly measured without touching it (no overheating of the M-Ray sensor)
Overall, the high measurement gap ensures that the measurement systems do not get damaged easily and that the systems can operate in all production stages. So, high maintainability and employability are guaranteed under all circumstances.
Click here to open or download the white paper.
3. Flexibly employable across production lines & sites
Manufacturing plants flexibly employ Hammer-IMS quality control solutions in various system configurations across multiple production sites, lines, and laboratories. Standard or custom turnkey machines and OEM modules operate with (scanning) sensor(s) of choice in standalone or closed-loop feedback mode to meet customers' specific QC and ROI requirements.
Most of the scanner systems run as part of in-line production lines of nonwovens, technical textiles, wall coverings, bitumen, rubbers, plastics and coatings. The Hammer-IMS software supports closed-loop feedback control to adjust automatically, maintain high production quality, and minimize material scrap. Flexibility also means adapting geometrical constraints of measuring machines where needed, e.g. to reduce floor footprint or machine height.
The M-Ray based solutions, which are non-nuclear and non-radioactive in nature, can serve as a moveable quality control solution. The flexible use of a single system in different locations divides the purchase cost of the system over multiple produced goods. Our urge toward higher measuring performance packaged in a smaller form factor opens up new markets and applications. The M-Ray measurement technology packaged in an OEM module enables machine manufacturers to flexibly integrate the technology into their quality control equipment.
Click here to open or download the white paper.
2. High accuracy and superior material coverage
Multi-disciplinary engineering excellence enabled Hammer-IMS to realize high precision and robustness levels for its M-Ray millimeter wave technology. The systems are able to measure down to 1 gram per square meter (or 1 micrometer for thickness measurements).
Maximum material coverage is obtained by having multiple M-Ray sensors travel back and forth in transversal direction. The inline Hammer-IMS systems generate color graphs in real-time during measurement. This enables highlighting out-of-spec regions on the scanned material (in terms of thickness or basis-weight) by means of simple color highlights.
Click here to open or download the white paper.
1. Sustainable & high safety
Our disruptive so-called M-Ray technology combines millimeter waves (high-frequency electromagnetic waves) with innovative algorithms in order to create a viable alternative for nuclear and radioactive measuring equipment currently used in the market.
Millimeter waves have wavelengths of 1 to 10 mm, about the size of an insect (e.g. the honey bee as shown on the picture). We use millimeter waves as an enabler for precise and accurate measurements. Since millimeter waves have a lower frequency than visible light, they are non-ionizing and thus not harmful to humans and the environment in general.
Click here to open or download the white paper.

